Painting your walls is one of the easiest and most affordable way to give your home a makeover.
Painting your walls will make a significant difference to the overall appearance of your home.
In fact, painting your walls can make a dramatic transformation.
For example, if you want a home that looks bigger or would like to give your home a more sophisticated look, painting is the key to making this happen!
Painting your home lighter colors will make the rooms look bigger while giving it a clean and refined appearance.
For a Luxurious look, painting walls a bolder and more vibrant color will achieve the desired appearance.
If you are ready for a home makeover and want to start painting but have never done so before, don’t worry! Below is a step-by-step guide to ensure you have the dream home you always wanted.

Step 1: Pick a Color Pallet
The very first thing that you want to do is pick out the color pallet.
Although you may be painting your room with just one color, you should have a color pallet as it ensures the wall colors will match your current furniture and accessories.
A color pallet is also vital if you plan to redecorate your entire room.
A color pallet will ensure the wall color will flow smoothly with furniture and decor. Thus, giving your room a nice, sophisticated, uniform look.
When picking a paint color, narrow it down to a few different color choices.
Once you have chosen a few colors, purchase paint samples to paint on the wall.
Painting paint samples on the wall allows the ability to see the colors throughout the different times of the day and in different lighting.
The allows the ability to see the different colors from the morning sun shining through the partially opened curtains to the lamp lite in the room at night.

Tip: Before doing this, ensure you are serious about painting your wall.
The only way to cover paint samples painted on the wall is by painting over them.
Some colors change depending on the time of day and the room’s sunlight.
Thus, giving a better indicator of which color is best throughout both day and night.
Step 2: Clean the Space
Once you are ready to paint, prepping is a must.
Remove all photo frames, move furniture to the middle of the room, place plastic or painter’s cloth over the table and cover the floor.
Prepping your space properly before painting will protect your furniture and the floors from paint spills.
Use painter’s tape to stick plastic on the top of baseboards, around door frames, and anywhere else needed to protect from wall paint.
Step 3: Prep the Walls
Now, you should start prepping your walls.
It is essential to carefully analyze the walls to see if you need to remove any access grim and patch up holes within the walls.
This is important as you may have accumulated holes from nails, scratches, or dirt particles on the walls.
Before patching any holes, ensure that you gently clean the walls to degrease and remove gunk, thus, getting your pallet (the wall) ready to apply paint.
When patching holes, make sure they blend with the wall. Sanding is the best option.
If you wall contains a texture then apply texture spray.
Major hardware chain stores carry texture spray that allows you to match the current texture of your wall to achieve the best results.
Step 4: Start with Primer
First, you will want to prime the walls, especially if you are going from a darker to a lighter color. Primer is a type of paint.
You will first want to paint the edges with primer.
After completing the edges, add primer to the wall with a roller brush in a w shape formation.
Once the primer has dried, you are ready to start painting the walls.
When painting with primer, your walls will look horrible, especially if you paint over a darker color.
The walls will look like a mix of white with the darker color seeping through; this is normal and should not worry you.
Before painting walls with primer, read step 5.
Step 5: Paint the Edges Around the Wall
Make sure you use a smaller edge brush when painting any areas a roller may not be able to access, such as corners or edges.
Edges include above the baseboards, around window frames, and doors. Paint with brush strokes going away from the edges and towards the open space.
Step 6: Paint the Wall

Pro Tip: Use an Extension Pole to Paint the Walls Faster!
Now you are finally able to paint your walls. Make sure you use a roller when doing the main wall’s center.
When using a roller, you want to go in a “w” shape, so think down – up – down – up.
To achieve a uniform texture, you will roll your paint strokes in the same direction.
Take breaks to check and fix paint drips.
Now that you have finally painted your entire wall, you will want to wait until it is dry to add a second coat.
You should wait approximately nine hours before adding a second coat.
Adding a second coat of paint to your walls is essential to ensure the paint fully covers.
After completing, take a few minutes and walk through and closely examine the walls to see if there are any touch-ups.
Look for paint drips, possible sections on the wall that may have gotten skipped, or the old paint that is bleeding through.
If finding paint drips, simply sand and repaint that spot.
Use a small roller and add just a little bit of paint.
Then gently stroke the dry wet paint lightly outwards to help blend the spot with the already dried paint.
Step 7: Clean Up
Congratulations! You have finally completed painting your room.
Now, all that is left is cleaning up and moving your furniture back in place.

In conclusion, painting your walls is a straightforward yet impactful way to transform your home. With just a bit of planning and the proper techniques, you can effortlessly enhance the aesthetic appeal of your spaces.
The possibilities are endless, whether you opt for soft, light hues to create an illusion of spaciousness or choose bold colors for a more luxurious ambiance. By following the outlined steps above, from selecting the perfect color palette to the final clean-up, you’ll achieve the refreshing makeover you’ve envisioned.
So, roll up your sleeves, gather your materials, and take the first step towards revitalizing your living environment. Happy painting!
Complete List of 
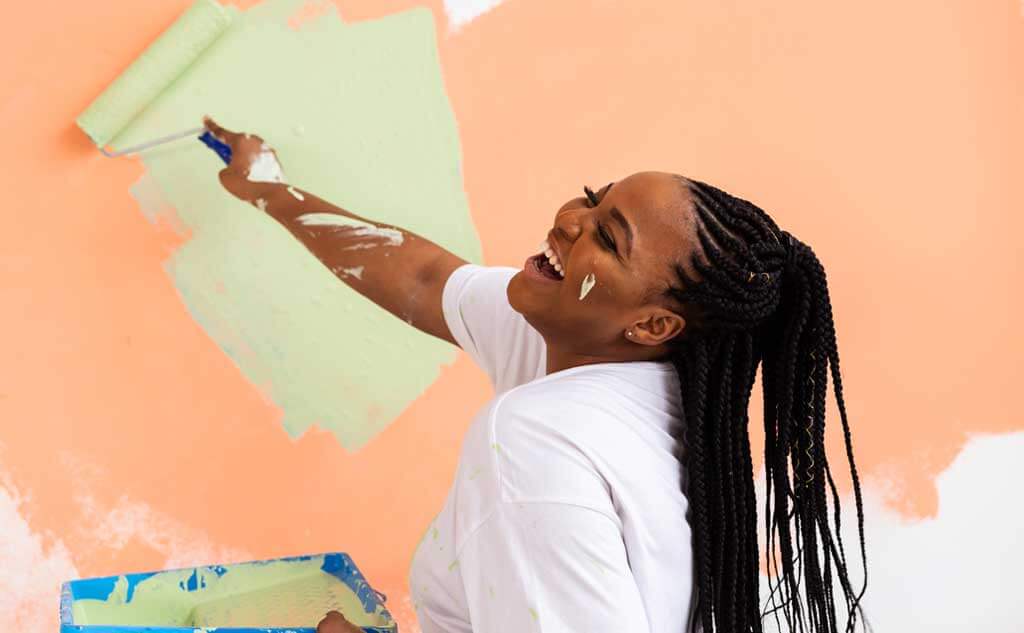
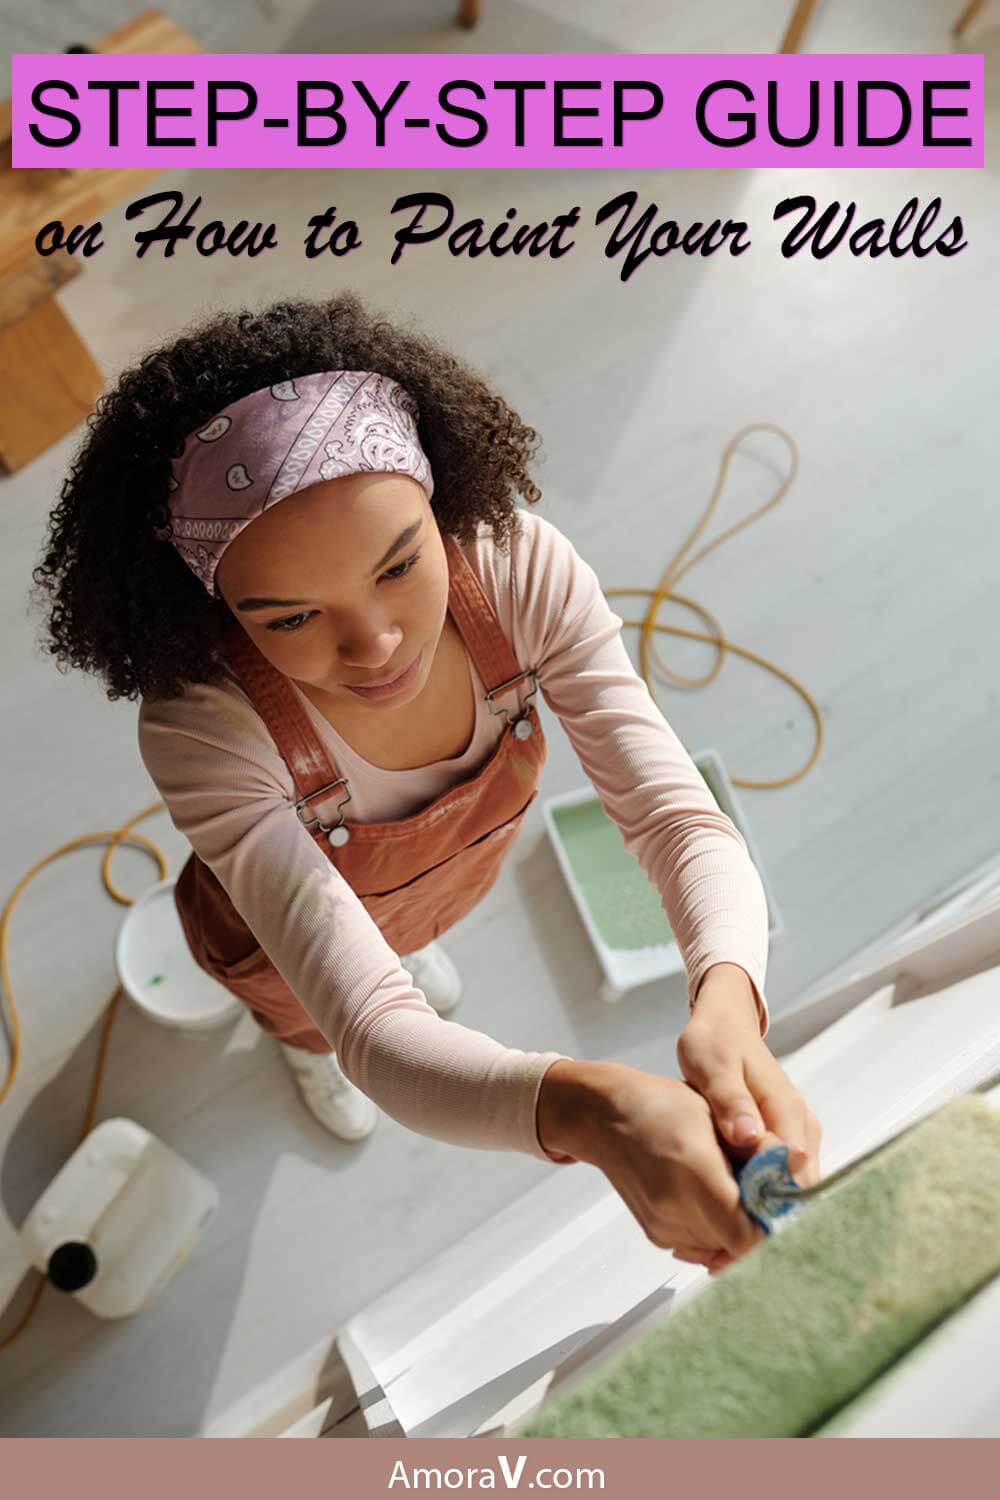
Step-by-Step Guide on How to Paint Your Walls
Step 1: Pick the Color Pallet
Step 2: Clean the Space
Step 3: Prep the Walls
Step 4: Start with Primer
Step 5: Paint the Edges
Step 6: Paint the Walls
Step 7: Clean Up

About Author, Meho Besic
Guest Writer, Amora V Lifestyle
Husband, Explorer & Adventurer
Meho is a contributor to Amora V Lifestyle, where he takes his knowledge from owning Certified Painting Professionals and shares it with the world.
Meho is passionate about his family and, when not working, exploring the great outdoors! Meho loves nature and never turns down a great adventure.
Disclaimer: This website is only meant for entertainment purposes. We advise you not to consider any of our posts as expert advice. Any indication of ‘claims’ of expertise on a certain topic or product or service area are solely based on our own knowledge.Before beginning any home improvement project, it’s important to assess your skill level and ensure that you have the proper tools and equipment. Always take proper safety precautions while using power tools or any other dangerous objects and make sure to read the instruction manuals before using any device that is new to you. Additionally, it’s important to follow all safety guidelines and instructions provided by manufacturers. Please note that any damages or injuries resulting from home improvement projects are the responsibility of the homeowner, and it’s always recommended to consult with a professional if you’re unsure about any aspect of the project. We cannot be held responsible for any injury or damage that may occur while attempting to replicate any of the projects or tutorials on this website. Please keep in mind that all projects done following instructions from this website are performed at your own risk. Any reviews or comments written are the subjective opinion of an Amora V member and not Amora V. Amora V performs occasional checks on commentary left by users. It’s worth mentioning that we may also use comments in our articles. By posting a comment, you are giving us permission to use it in our content. Please check out Privacy Policy and Terms of Use for full disclosure.
Comments are closed.
About Author, Meho Besic


Let Us Be Friends
Links
Advertise with Us
Contact Us
Get Featured
Report an Error
Media Kit
Travel Site